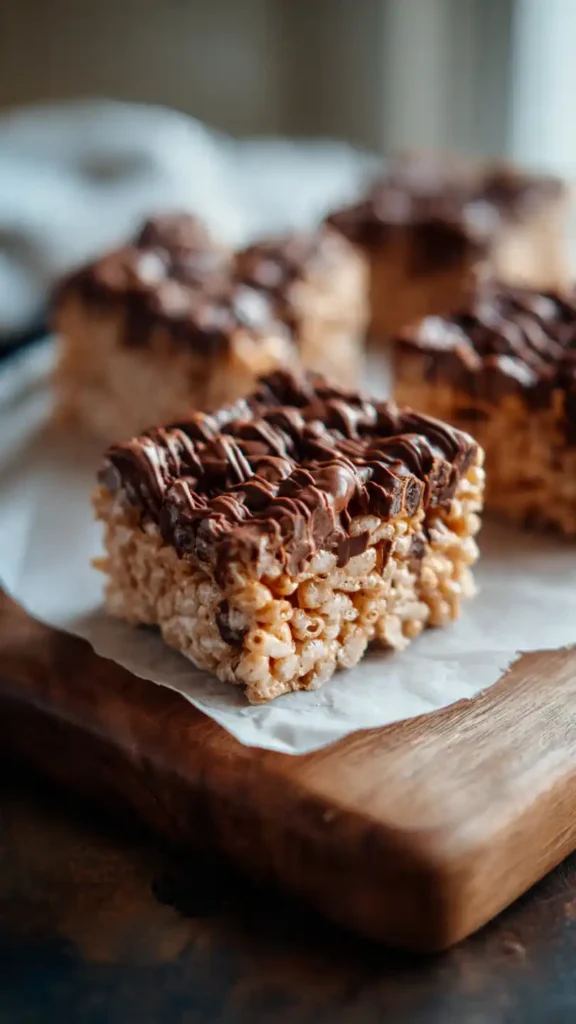
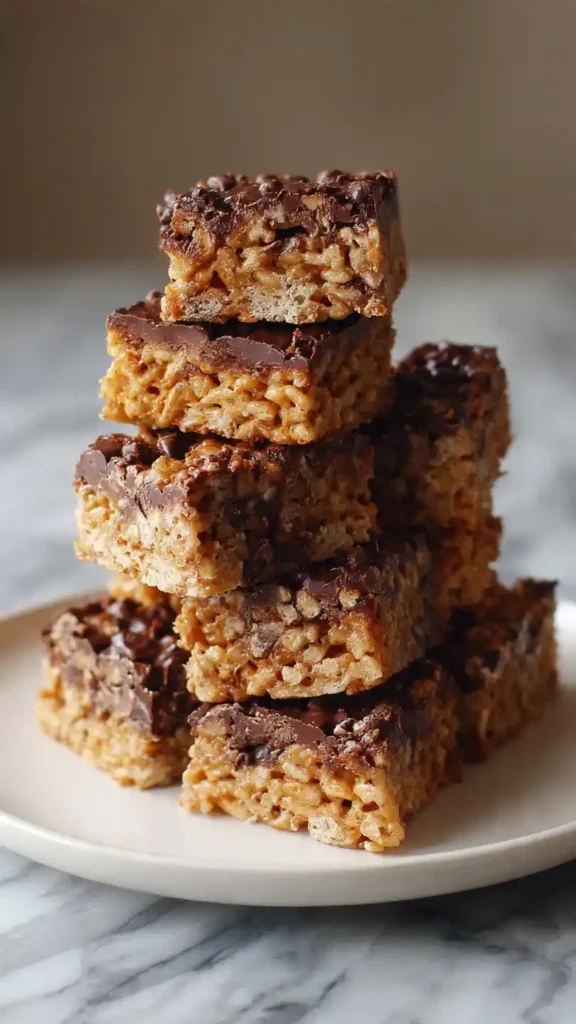
Some desserts don’t need an introduction – you just know they’re going to be good. Peanut butter and chocolate Rice Krispie treats are exactly that kind of recipe. They’re soft, chewy, a little crunchy, and filled with flavors that feel familiar in the best way.
The kind of treat you make on a whim and somehow end up eating straight from the pan.
What makes these extra special is how effortless they are. No oven. No waiting for butter to soften. No complicated steps. Just stirring, pressing, and letting chocolate do its thing. In my opinion, these are the treats you make when you want something comforting without turning baking into a project.
Why These Rice Krispie Treats Are So Good
This recipe works because it understands balance. The Rice Krispies give that light crunch, the marshmallow mixture keeps everything soft, and the peanut butter adds richness without being overpowering. Then comes the chocolate layer – smooth, slightly firm, and just sweet enough.
They’re not dry. They’re not rock-hard. And they don’t crumble when you pick them up. They’re the kind of treat where one square somehow turns into two… or three.
Ingredients You’ll Need for the Recipe
- 4 cups Rice Krispies cereal
- 3 tablespoons unsalted butter
- 10 oz marshmallows
- ½ cup creamy peanut butter
- 1 cup semi-sweet chocolate chips
Choosing the Right Peanut Butter and Chocolate
Creamy peanut butter is the easiest and most reliable choice here. It blends smoothly into the marshmallow mixture and keeps the treats soft. Natural peanut butter can separate and make the bars oily, so it’s best avoided for this recipe.
For the chocolate, semi-sweet is a great middle ground. It melts well and keeps the sweetness in check. Milk chocolate works too if you like things sweeter, especially if you’re making these for kids.
Step-by-Step Preparation Instructions
Step 1: Melt the butter, marshmallows, and peanut butter
Start by melting the butter over low heat. Once melted, add the marshmallows and stir gently until they’re mostly smooth. Stir in the peanut butter and keep mixing until everything looks creamy and combined. Low heat is key here – it keeps the treats soft instead of tough.
Step 2: Fold in the Rice Krispies
Remove the pot from the heat and add the cereal. Gently fold it in until every piece is coated. Take your time and avoid crushing the cereal – that crunch is part of the magic.
Step 3: Press the mixture into the pan
Transfer the mixture into a lined or greased pan. Press it down lightly using a spatula or your hands. Don’t pack it in too tightly. A gentle touch keeps the bars chewy instead of dense.
Step 4: Melt the chocolate
Melt the chocolate slowly, either in the microwave in short bursts or over a double boiler. Stir until smooth and glossy.
Step 5: Add the chocolate layer
Spread the melted chocolate evenly over the top. You can go for a neat, smooth layer or a slightly rustic swirl – both look great.
Step 6: Let set and slice
Let the treats rest at room temperature until the chocolate sets. Once firm, slice into squares and try not to sneak too many before serving.
Tips for Perfect Rice Krispie Treats
Low heat makes a huge difference. Rushing the melting process can lead to hard treats. Another small but important tip: don’t over-press the mixture into the pan. Light pressure equals soft, chewy bars.
Variations to Try with This Recipe
If you’re a chocolate lover, mix mini chocolate chips directly into the cereal mixture. For a drizzle effect, save a little melted chocolate and drizzle it over the top once the main layer sets.
Need a peanut-free option? Sunflower seed butter works surprisingly well and keeps the same creamy texture.
Nutrition Facts (Per Serving)
| Nutrient | Amount |
|---|---|
| Calories | 210 kcal |
| Carbohydrates | 26 g |
| Protein | 4 g |
| Fat | 10 g |
| Fiber | 1 g |
| Sugar | 18 g |
| Sodium | 120 mg |
Storing and Serving Your Treats
These treats keep well in an airtight container at room temperature for about three days. If you refrigerate them, they’ll firm up – just let them sit out for a few minutes before serving.
They’re perfect for parties, lunchboxes, bake sales, or those moments when you want a quick dessert without baking.
Nutritional Information and Serving Suggestions
These are rich and satisfying, so smaller squares go a long way. Serve them with a glass of milk, a cup of coffee, or alongside fruit for a simple dessert spread.
A Treat Everyone Will Love
Peanut butter and chocolate Rice Krispie treats aren’t meant to be fancy. They’re meant to be shared, enjoyed, and maybe made again sooner than planned. In my opinion, the best recipes are the ones that feel easy, comforting, and familiar – and this one checks every box.

Peanut Butter and Chocolate Rice Krispie Treats
Ingredients
Method
- Grease or line an 8×8-inch pan with parchment paper.
- In a large pot over low heat, melt the butter. Add marshmallows and stir until mostly melted.
- Stir in peanut butter until smooth and fully combined.
- Remove from heat and gently fold in Rice Krispies cereal until evenly coated.
- Press mixture lightly into the prepared pan without packing it down.
- Melt chocolate chips until smooth and spread evenly over the top.
- Let set at room temperature until chocolate is firm, then cut into squares.
Notes
- Use low heat to keep treats soft and chewy.
- Do not over-press the mixture into the pan or bars will become dense.
- Store at room temperature in an airtight container for up to 3 days.
- For a peanut-free version, substitute sunflower seed butter