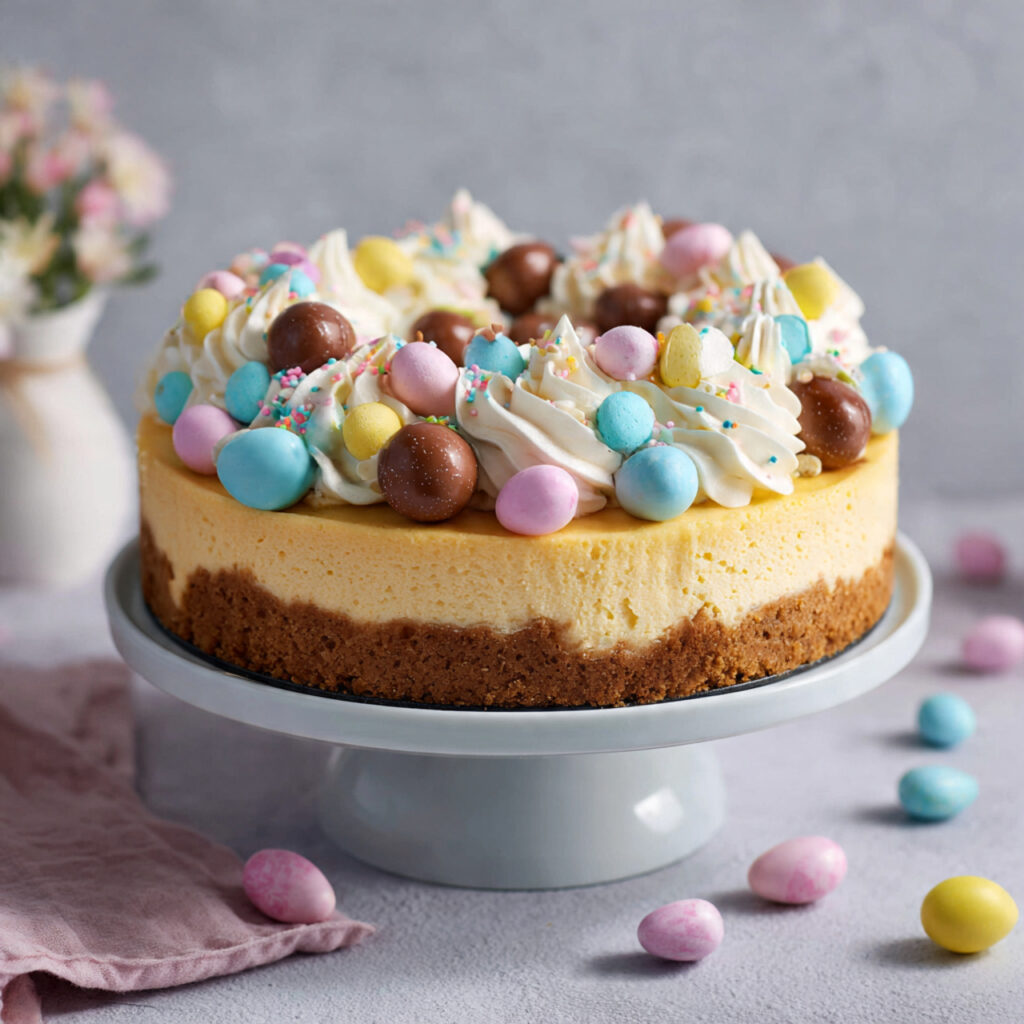
Easter desserts should feel fun, colorful, and just a little indulgent-and this Easter Egg Cheesecake does exactly that. It’s creamy, rich, and topped with crunchy chocolate eggs that add both texture and that festive look people love to save (and click) on Pinterest.
This is the kind of dessert that instantly becomes the center of your Easter table. Whether you’re hosting brunch or just want something special for family, it delivers both flavor and visual impact.
Why This Cheesecake Works So Well
The magic here is contrast. You get a smooth, velvety cheesecake filling paired with a buttery biscuit base and topped with crisp candy-coated eggs.
It’s not just sweet-it’s layered in texture.
What makes it even better is how flexible it is:
- Works as no-bake or baked
- Easy to decorate (perfect for Pinterest-style visuals)
- Can be made ahead (huge win for holidays)
Ingredients
For the Base
- 200g digestive biscuits (or graham crackers)
- 100g melted butter
For the Cheesecake Filling
- 400g cream cheese (softened)
- 200ml heavy cream
- 100g powdered sugar
- 1 tsp vanilla extract
For Topping
- 150–200g chocolate mini eggs (crushed + whole)
- Optional: whipped cream, chocolate drizzle
Instructions
Step 1: Prepare the Base
Crush the biscuits into fine crumbs and mix with melted butter until it resembles wet sand.
Press firmly into a springform pan and chill in the fridge for at least 20–30 minutes.
Step 2: Make the Filling
In a bowl, beat cream cheese until smooth. Add powdered sugar and vanilla, then mix again until creamy.
In another bowl, whip the heavy cream until soft peaks form. Fold it gently into the cream cheese mixture.
Step 3: Assemble
Pour the filling over the chilled base and smooth the top.
Refrigerate for at least 4–6 hours (overnight is best for clean slices).
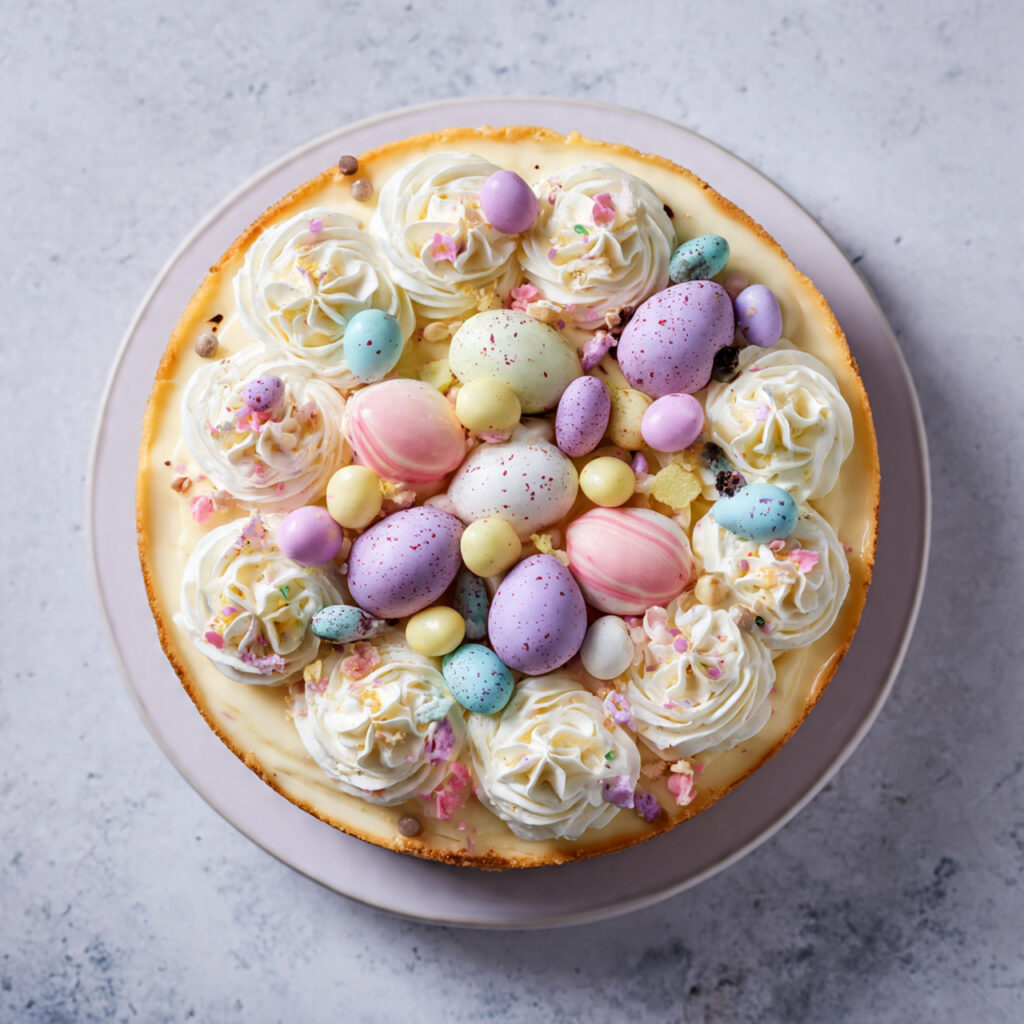
Step 4: Decorate
Top with crushed and whole chocolate eggs. Add whipped cream swirls or chocolate drizzle for that extra “wow” factor.
Pro Tips (This is where most recipes fail)
- Don’t overmix the filling → it can turn too soft and lose structure
- Chill properly → rushing this ruins the texture
- Use full-fat cream cheese → low-fat versions won’t set well
If you want that bakery-style finish, clean your knife between each slice. Small detail, but it changes how professional your dessert looks.
Nutrition (Per Serving )
| Nutrient | Amount |
|---|---|
| Calories | 400 kcal |
| Carbs | 32g |
| Protein | 5g |
| Fat | 28g |
| Sugar | 20g |
Variations You Can Try
If you want to make this stand out even more (especially for content or Pinterest):
- Chocolate version → add melted chocolate into the filling
- Mini cheesecake cups → perfect for parties
- Oreo base instead of biscuits → richer flavor
- Pastel whipped cream topping → more “Easter aesthetic”
Final Thought
Honestly, this is one of those desserts that’s less about complexity and more about presentation and texture. You don’t need advanced baking skills-just attention to detail.
And if your goal is Pinterest traffic or engagement? This kind of colorful, seasonal dessert performs extremely well.
Easter Egg Cheesecake
Ingredients
Method
- Crush biscuits and mix with melted butter. Press into pan and chill.
- Beat cream cheese, sugar, and vanilla until smooth.
- Whip cream and fold into mixture.
- Spread filling over base and chill for 4–6 hours.
- Decorate with chocolate eggs and serve.
Notes
- Best made a day ahead
- Store in fridge up to 3 days
- Freeze without toppings for longer storage