Carving a turkey means resting the bird, removing the legs and wings first, then slicing the breast meat against the grain for juicy, even pieces.
By breaking the turkey down at the joints instead of carving it like a roast, you keep the meat moist and the process stress-free. With a sharp knife, a rested turkey, and a simple step-by-step approach, anyone can carve a turkey cleanly and confidently for a beautiful serving platter.
Before You Start: The Most Important Step
Let the turkey rest.
This is non-negotiable.
After roasting, the turkey needs at least 20–30 minutes of rest. This allows the juices to redistribute so the meat stays moist instead of flooding the cutting board. Cover the bird loosely with foil while it rests.
Direct opinion: rushing this step is the number-one reason people think turkey is dry.
What You’ll Need
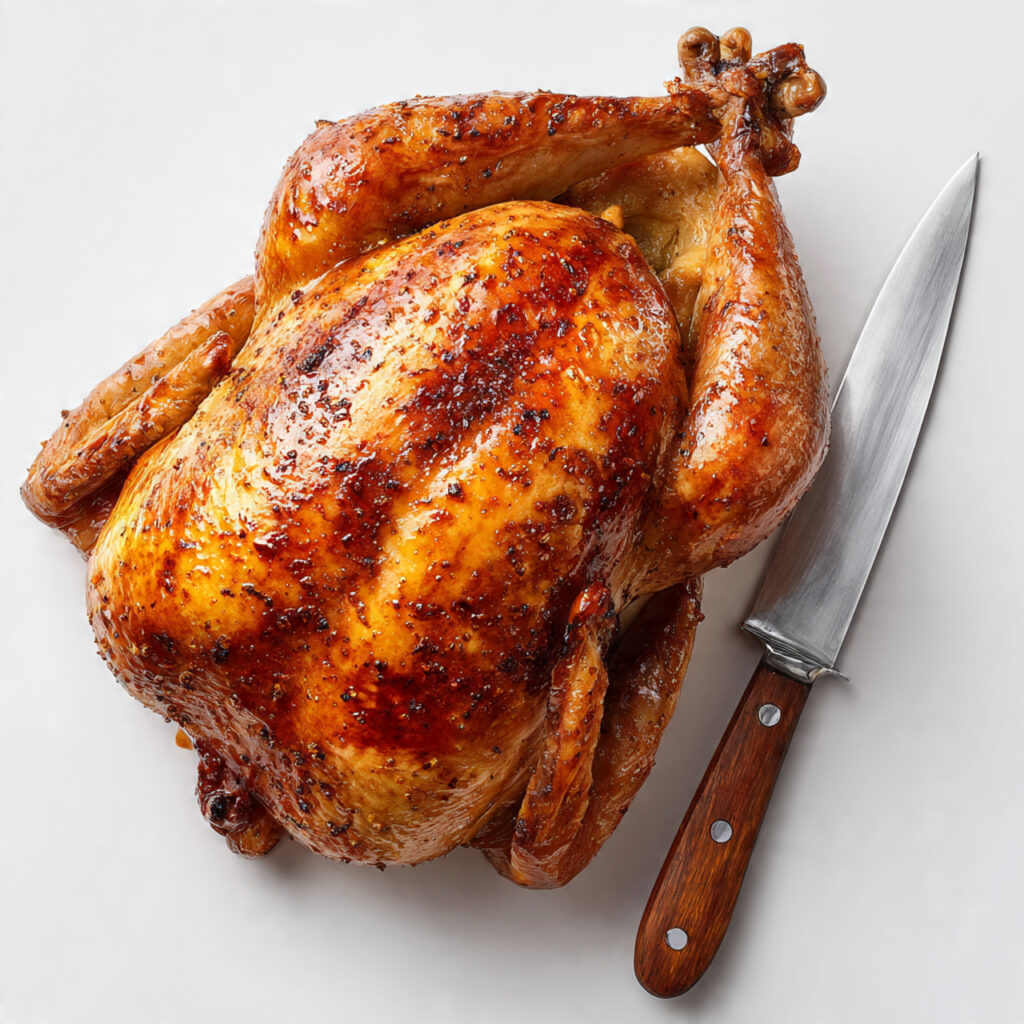
You don’t need a full knife set-just the right basics.
- A sharp chef’s knife or carving knife
- A sturdy cutting board (with a groove if possible)
- Tongs or a fork for stability
- A serving platter
Sharp knives make cleaner cuts and safer carving. Dull knives cause slipping.
Step-by-Step: How to Carve a Turkey
Step 1: Remove the Legs
Start with the legs-they’re the easiest and most forgiving.
Pull one leg gently away from the body and slice through the skin where it connects. Bend the leg outward until the joint pops, then cut through the joint to remove the whole leg. Repeat on the other side.
Set the legs aside for now.
Step 2: Separate Thighs and Drumsticks
Each leg consists of a thigh and a drumstick.
Find the joint between them and slice straight through. This gives you two clean pieces per leg. Arrange them neatly on the platter or slice the thigh meat if desired.
Step 3: Remove the Wings
Pull each wing away from the body and cut through the joint where it meets the breast. Wings don’t have much meat, but they’re full of flavor and often fought over.
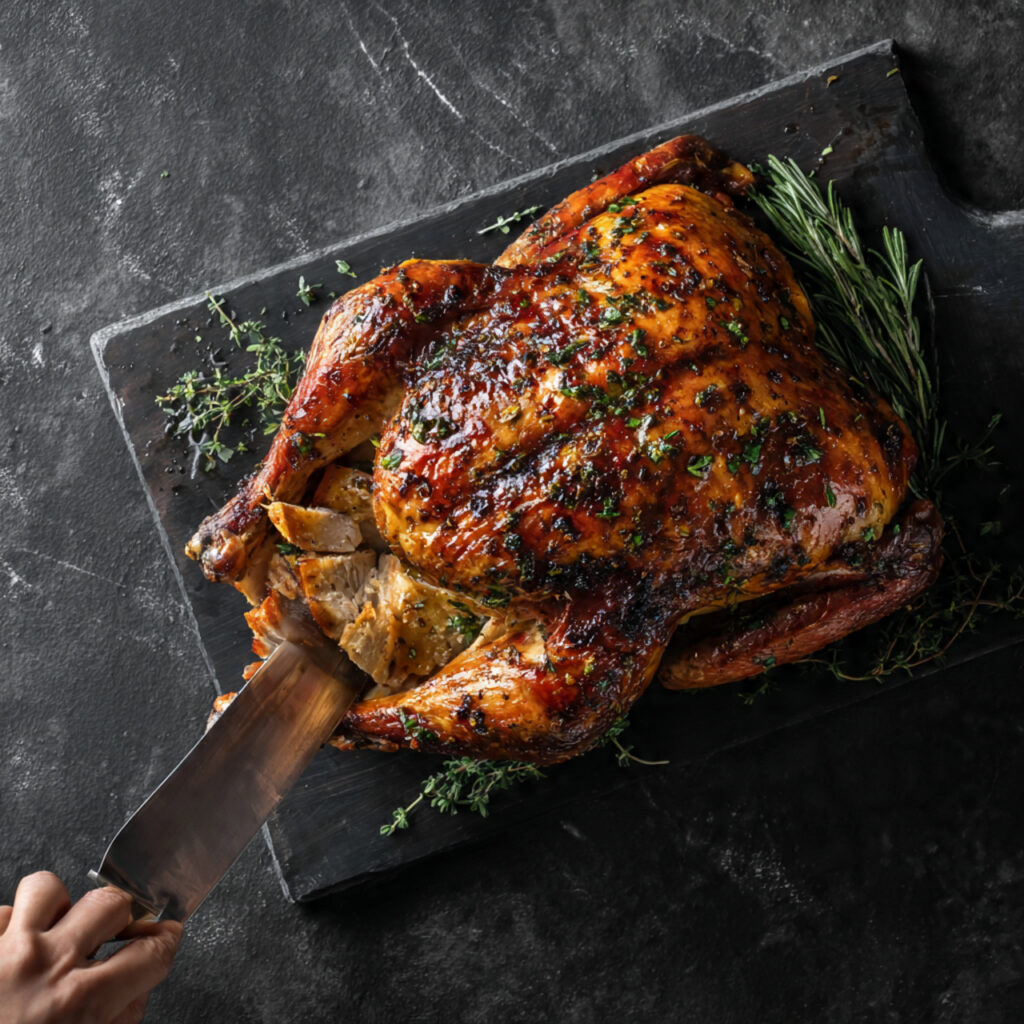
Step 4: Carve the Breast Meat
This is the part everyone watches-but it’s simple.
Make a long cut down one side of the breastbone, following the curve of the bone. Gently guide the knife outward, removing the breast in one large piece. Repeat on the other side.
Once removed, place each breast on the cutting board and slice across the grain into even pieces. This keeps the meat tender and easy to chew.
Step 5: Arrange and Serve
Arrange the sliced breast meat, thighs, drumsticks, and wings on a platter. Mix light and dark meat together so everyone has options.
If you want to level up the presentation, spoon a little warm gravy or pan juices over the slices just before serving.
Common Carving Mistakes to Avoid
- Carving too soon: leads to dry meat
- Sawing back and forth: use smooth, confident cuts
- Slicing breast meat on the bird: remove it first for cleaner slices
- Cutting with the grain: results in tougher meat
- Trying to be perfect: rustic is fine-this isn’t a competition
Tips for Juicy, Beautiful Slices
- Always slice breast meat against the grain
- Keep slices medium-thick-they dry out less
- Use tongs to steady meat, not your fingers
- Pour juices back over sliced meat if needed
Remember: flavor matters more than symmetry.
Nutrition (Per Serving)
| Nutrient | Amount |
| Calories | 320 kcal |
| Protein | 34 g |
| Fat | 14 g |
| Saturated Fat | 4 g |
| Carbohydrates | 0 g |
| Sodium | 520 mg |
What to Do With the Carcass
Don’t throw it away.
The turkey carcass is gold for:
- Homemade turkey stock
- Soup and gravy
- Freezer-ready broth
Break it down and freeze it if you’re not ready to use it right away.
FAQs
Do I need an electric knife?
No. A sharp regular knife works better for most people.
Should I carve in the kitchen or at the table?
Kitchen is easier and less stressful. Plated turkey looks just as impressive.
How do I keep sliced turkey warm?
Cover loosely with foil and add a little warm broth or gravy.
What if I mess up a slice?
No one cares. Turkey tastes the same no matter the shape.
Can I carve the turkey ahead of time?
Yes. Carve shortly before serving and keep warm with foil and juices.
Final Thoughts
Carving a turkey isn’t about perfection-it’s about confidence and care. Take your time, follow the joints, and remember that everyone at the table is already rooting for you. Once you’ve done it once, you’ll wonder why it ever felt intimidating.
And honestly? The best part of carving the turkey is knowing the hard part is over-and it’s time to eat.
How to Carve a Turkey
Ingredients
Method
- Let the cooked turkey rest for 20–30 minutes, loosely covered with foil.
- Place the turkey breast-side up on a sturdy cutting board.
- Pull one leg away from the body and cut through the joint to remove it. Repeat on the other side.
- Separate the thighs from the drumsticks at the joint, if desired.
- Remove the wings by cutting through the joints where they meet the breast.
- Slice down one side of the breastbone and remove the breast in one piece. Repeat on the other side.
- Slice breast meat against the grain into even pieces.
- Arrange meat on a platter and spoon pan juices or gravy over the top before serving.
Notes
- Always rest the turkey before carving to keep it juicy.
- Use a sharp knife for clean, safe cuts.
- Slice breast meat against the grain for tenderness.
- Save the carcass for homemade turkey stock.